Seed to tomato!
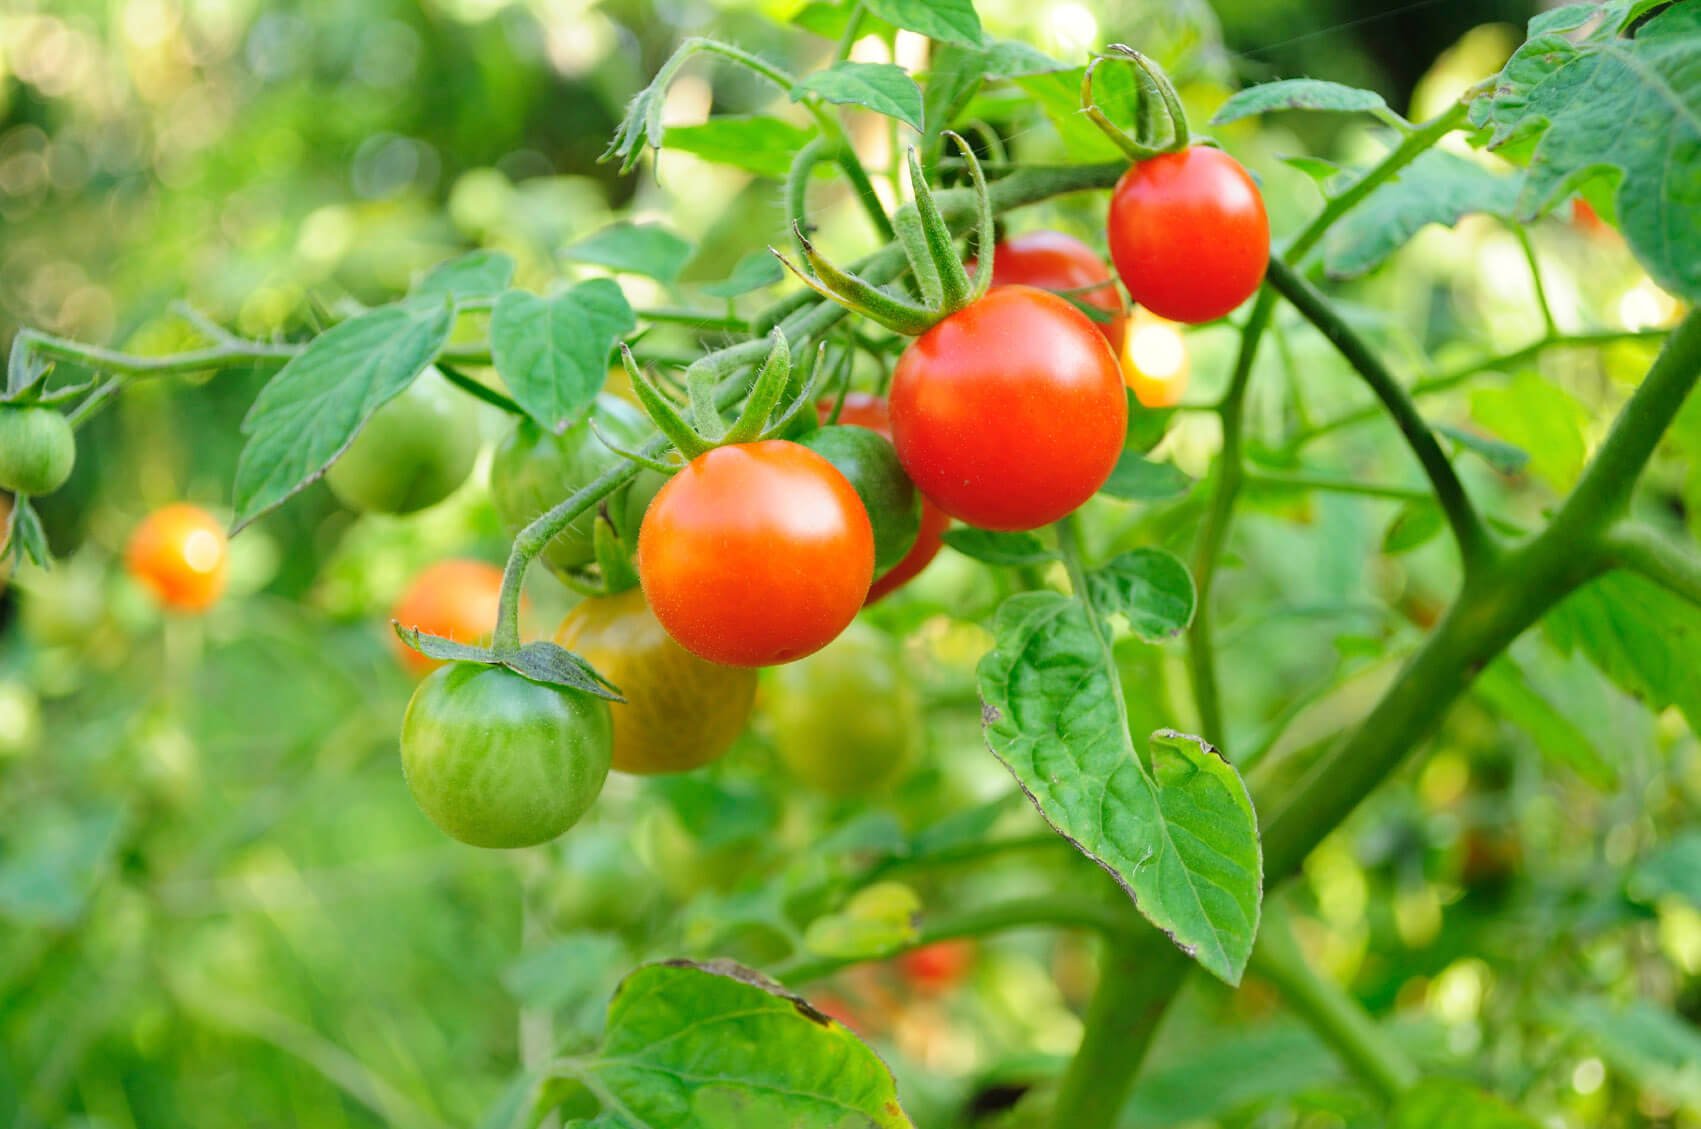
Tomatoes, a reminder that summer is here! From growing in your garden to fresh in your dinner meals like BLT’s, burgers and salads.
Also known for its good source in vitamin C, these bright red, orange and yellow tomatoes are bound for standing out in your veggie garden. The interest in growing your own tomatoes can be very exciting, but what if your yields were not as great last year? You’ve gone out to your garden and take a look at the soil, even picked some up noticing how dense it felt. It was as hard as clay. With research you find that your tomato seedlings root development is poor due to lack of aeration and drainage.
Aeration and drainage are vital to root development. Drainage in your soil allows water runoff. The water runoff collects nutrients from the soil and as it heads South. The seedling or roots in a plant absorb those nutrients. Its also important to have a soil that has supplement available in it. However, you can buy amendments separately to help support your garden.
Here at The Worm Farm Portland, we produce mixes that benefit your vegetable garden and flower garden needs. For your tomato seeds we have Premium Gwen’s Mix. This mix offers aeration and drainage to your new tomato seedlings. This mix is made of 9 OMRI certified ingredients and two non-certified ingredients to help your garden grow.
· Garden Compost
· Organic Worm Castings
· Stutzman Chicken Manure
· Happy Cow Manure
· Azomite
· Bat Guano
· Seabird Guano
· Feather Meal
· Diatomaceous Earth
· Coco Coir
· Pumice
Gwen’s Mix has supplements already mixed in and prepared to help your plants thrive. Here’s how to get started with your tomato garden:
After you pick your preferred variety of tomatoes, you need to germinate your seeds. Take note that germinating seeds should take place a few days before you plan to plant them. So always plan ahead! One easy way to do this is the paper towel method. The paper towel method will need some tools. Your tools will be two plates, two paper towels, and a spray bottle with water. First wet your paper towels so they’re damp. You don’t want them dry or too wet. Now with the first plate, you’re going to place one of the dampened towels on top. Next take only a few of your seeds -10 seeds is great starting amount- and evenly space them out so when they sprout, they will be able to have room to develop. Then place the second dampened towel on top and place the second plate upside down so it makes a clam-like cover. This creates a dark and moist environment to help sprout your seeds. Make sure you have the seeds placed in a warm environment. Check on your seeds daily and mist the seeds and paper towels so the seeds can remain moist. Once the sprouts are a quarter of an inch in length, they will be ready to transplant.
Transplanting sounds tricky but don’t be afraid! Its fairly easy! You’ll want to transplant in the Spring or in the Fall to avoid the summer heat but also try not to do this if there’s frosty temperatures outside. You will want a consistent temperature of 50 degrees or above. Your plants need to be hydrated and healthy so water them a few days before transplanting as well. With your finger, poke a hole in the soil and drop your seeding in. Make sure that the sprout is left uncovered and sticking out of the soil. Firm the soil around the stem to help support the stem and water the new transplant right way.
Cheers!
The Worm Farm Portland Team