When & How to Plant Bell Peppers
Time to pepper Up the Garden
Bell peppers are colorful, crisp, and absolutely delicious—whether you're slicing them fresh for a salad or tossing them into a stir-fry. But did you know they’re also a fun and rewarding veggie to grow in your own garden? While they might be a bit slow to start, once they get going, bell peppers are surprisingly low-maintenance and super productive.
At Worm Farm Portland, we’re all about helping you grow your own food and build up healthy, happy garden soil. So here’s our friendly guide to growing bell peppers from seed to harvest.
Getting Started: When & How to Plant Bell Pepper Seeds
Bell peppers are warm-season plants, so timing is everything. Unless you have a long growing season, you’ll want to start seeds indoors 8–9 weeks before your area’s last frost date.
Seed Starting Tips:
Use a heat mat if possible. Bell pepper seeds love warmth—aim for 80–85°F soil temperature for the best germination.
Plant seeds 1/4 inch deep, 2–3 seeds per container.
Keep the soil evenly moist but not soggy.
Be patient! Germination can take 6 to 15 days, depending on temperature and conditions.
Once seedlings grow their second or third set of true leaves, transplant them into larger containers.
If you don’t have a grow light, no worries—just place your seed trays in the sunniest window you’ve got.


Transplanting Outdoors: Wait for Warm Nights
Bell pepper seedlings don’t like the cold. Wait until nighttime temps stay above 70°F before planting them outside. Choose a sunny spot and space the plants about 24 inches apart.
Planting Tips:
Don’t bury them deeper than they were in their starter pots.
Keep the soil well-draining and rich—we recommend prepping your bed with worm castings, compost, or aged manure a week or so before transplanting.
Use mulch or straw around the base to keep moisture consistent and prevent weeds.
Feed Me! Fertilizing Bell Peppers Naturally
Bell peppers are heavy feeders, but they’re also sensitive to over-fertilization. Stick with organic options like:
Worm compost or worm tea (we’ve got plenty at Worm Farm Portland!)
Fish emulsion
Composted manure
Pro tip: Bell peppers thrive in soil with a pH of 5.5–7.0. If you’re not sure about your soil’s pH, check with your local extension office—they offer affordable tests that take out the guesswork.
Watering & Supporting Your Plants
Bell peppers love steady watering. Uneven moisture can cause smaller fruits or blossom-end rot, so aim for 1–2 inches of water per week—more if it’s hot and sunny.
As the plants grow, give them some support with:
Tomato cages
Bamboo stakes
Garden twine
Bell pepper plants can grow up to 3 feet tall and get top-heavy with fruit, so a little support goes a long way.

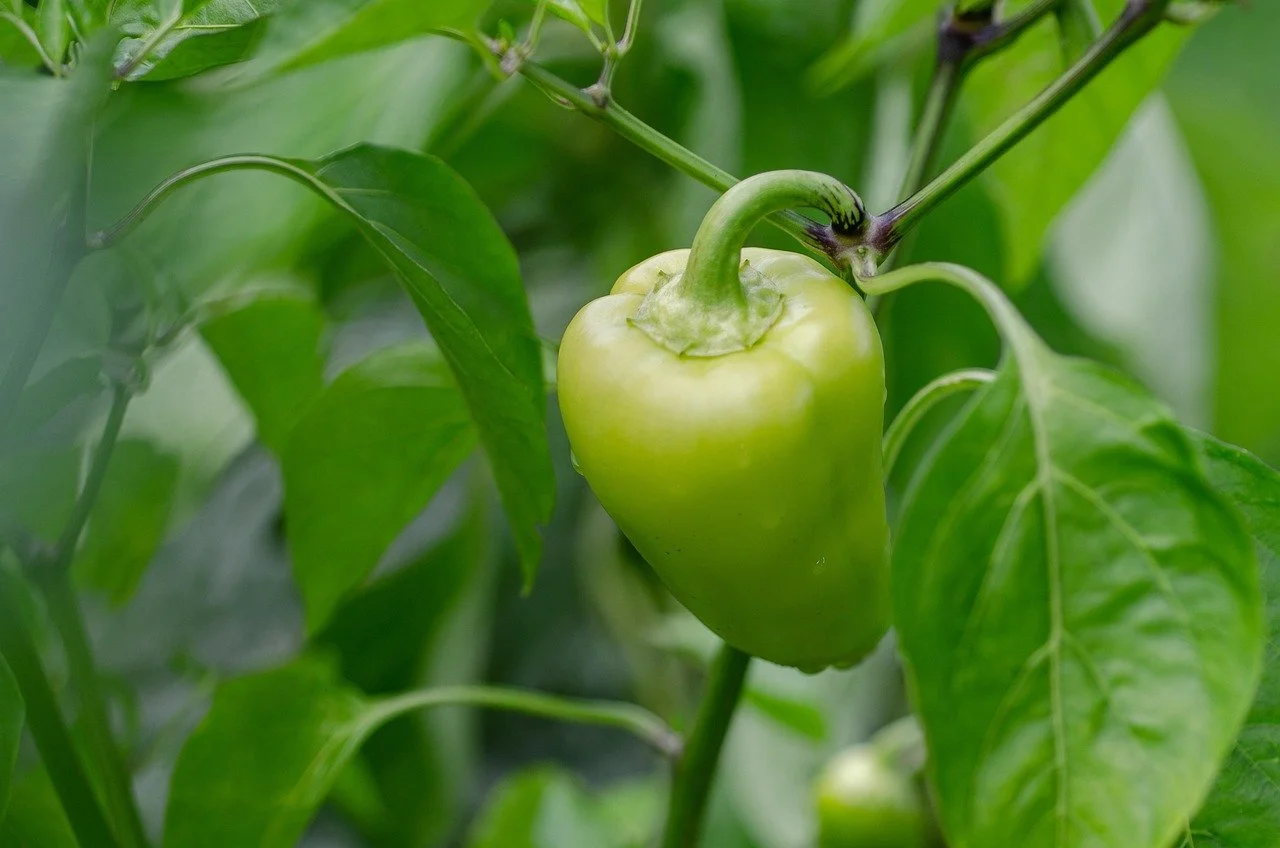


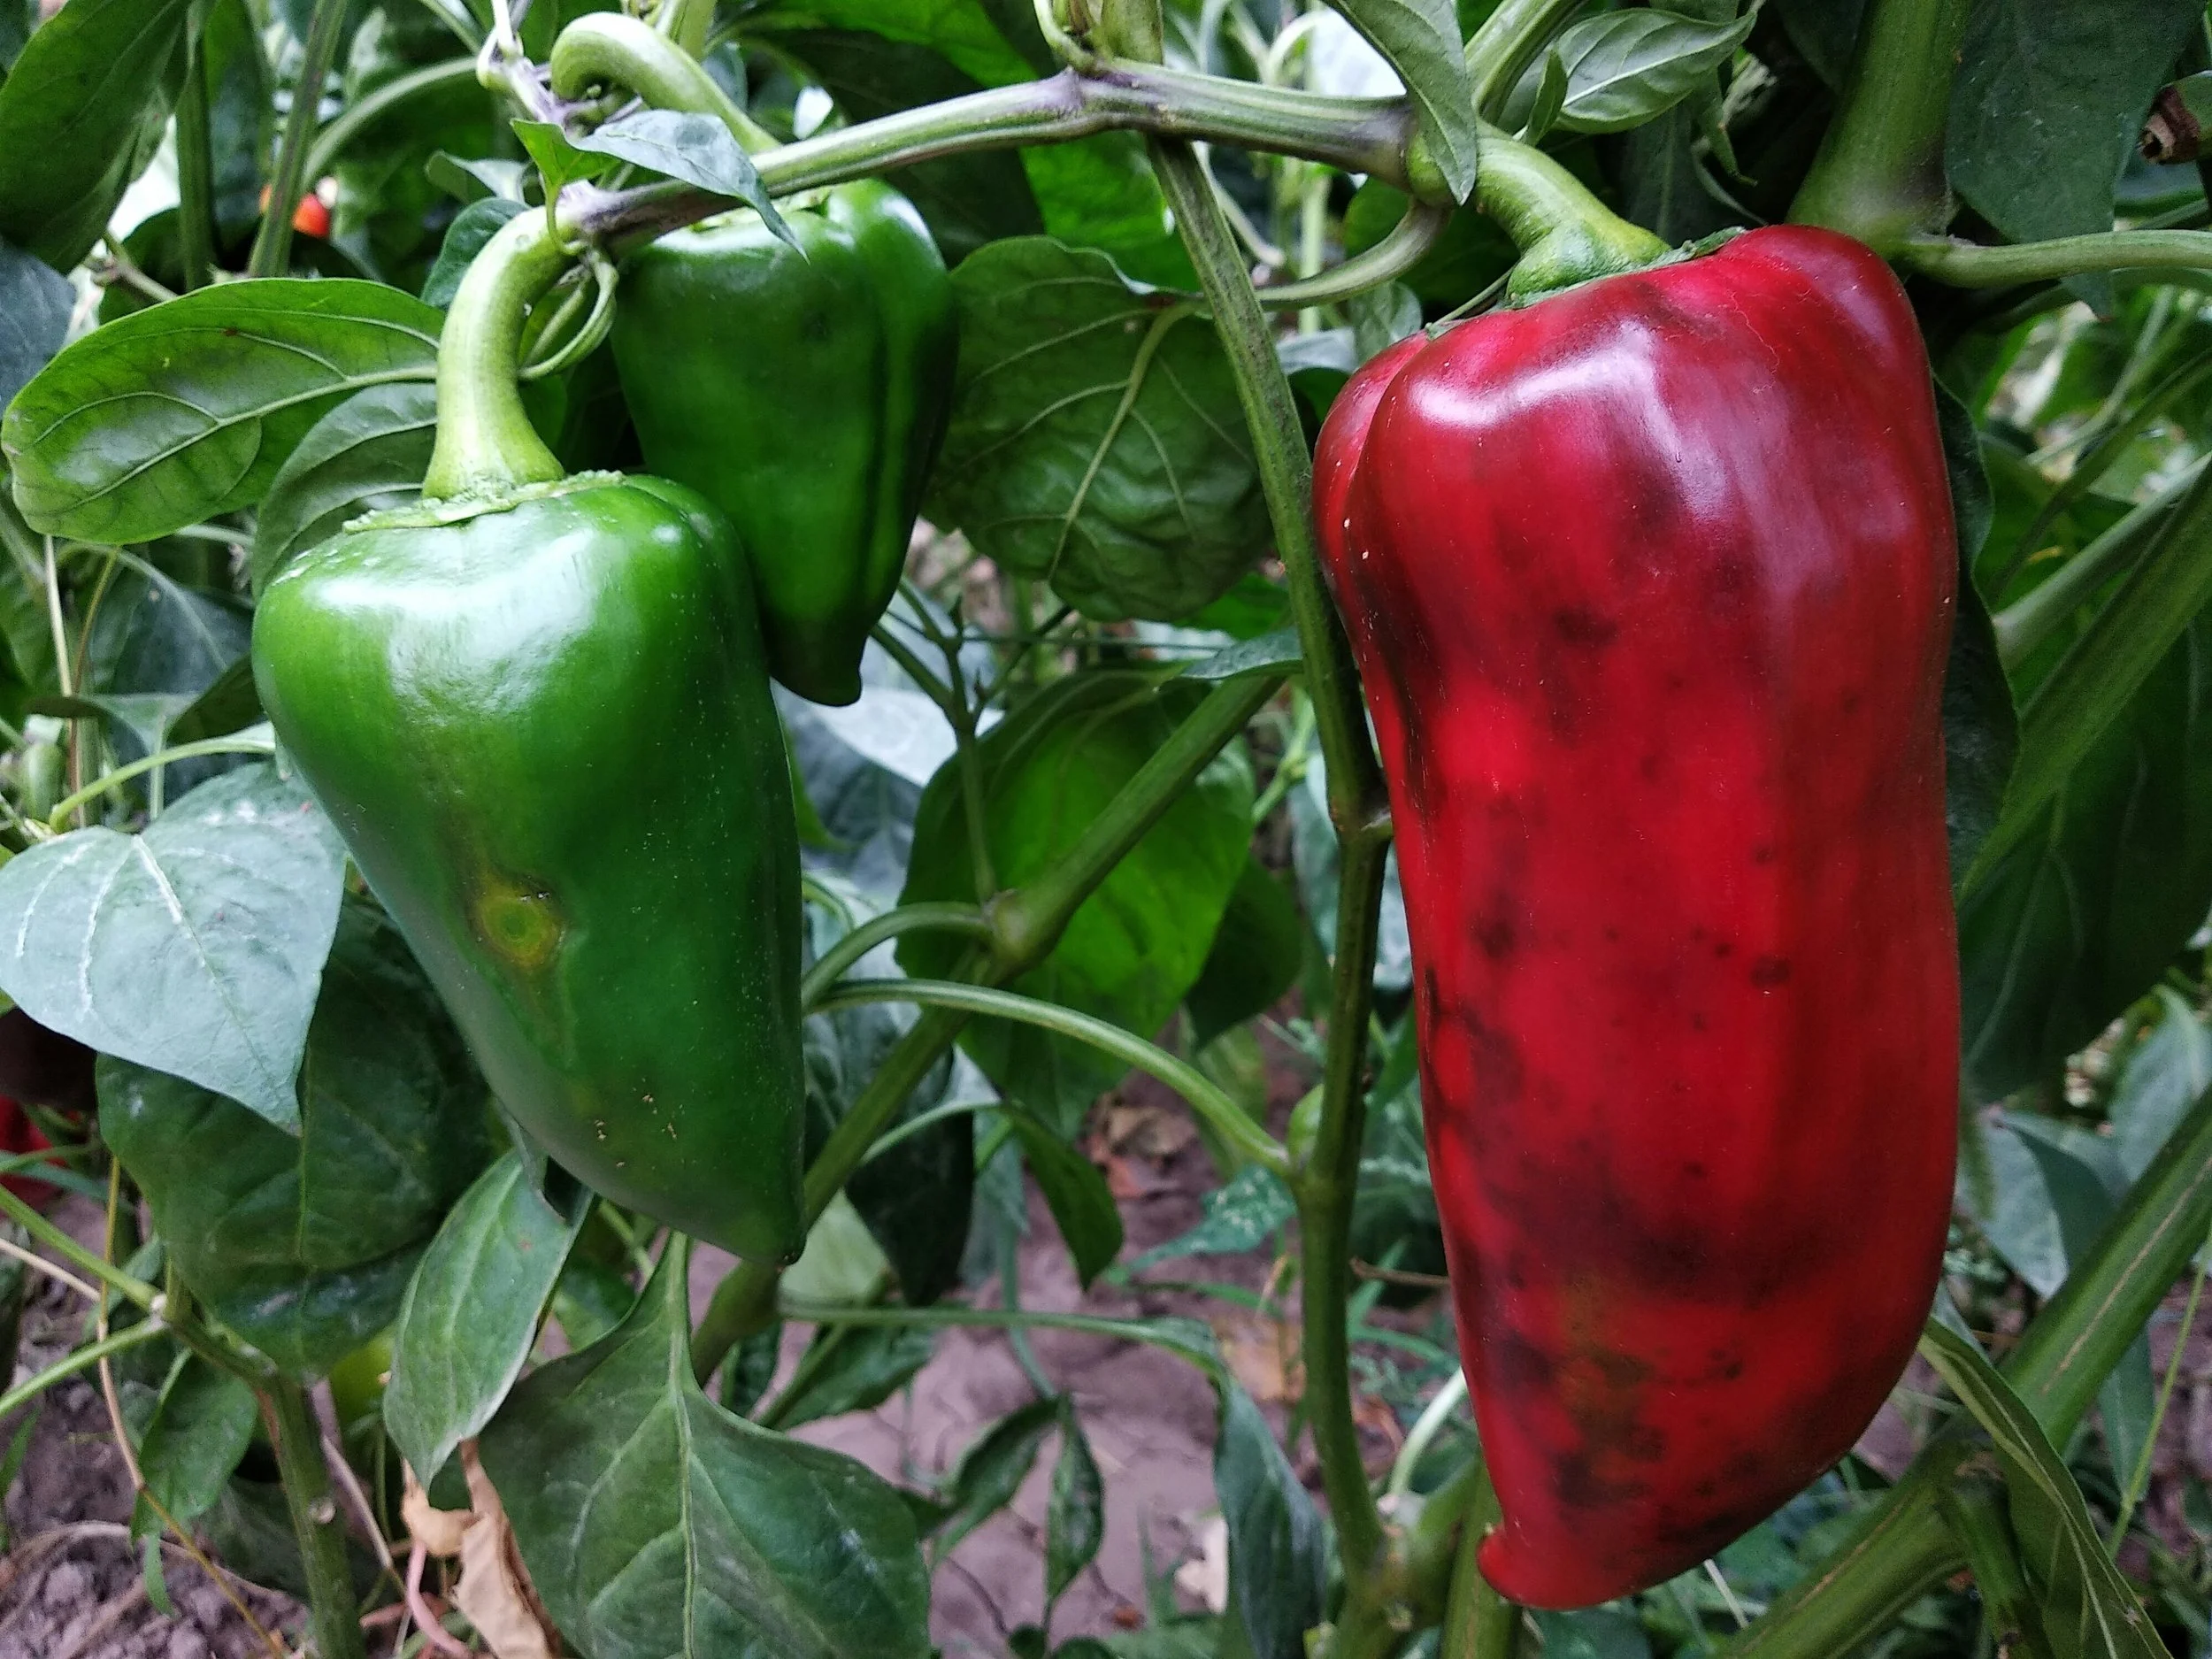
When and How to Harvest Bell Peppers
Now the fun part—harvest time!
You can pick bell peppers green or wait until they ripen to red, yellow, orange, or even purple, depending on the variety.
The longer they stay on the plant, the sweeter they get!
Harvest by cutting the stem with scissors or a sharp knife—leave about 1–2 inches of stem attached.
Note: Leaving mature fruit on the plant for too long can slow down further production, so harvest regularly to keep those peppers coming!
Garden Friends: Companion Plants for Bell Peppers
Want to give your peppers some gardening buddies? Plant them near:
Onions
Tomatoes
Carrots
Eggplant
Green peas
They’ll help repel pests, improve soil conditions, and make the most of your garden space
Storing Your Bell Pepper Harvest
Final Thoughts
Growing bell peppers might take a little patience in the beginning, but once they’re off and running, they’re just like any other garden veggie—sun-loving, water-thirsty, and so rewarding. Plus, the rainbow of colors you’ll get makes your garden look as good as it tastes.
If you’re starting your pepper journey this season, stop by Worm Farm Portland for high-quality , certified worm castings, all kind of organically certified compost, amendments and soil mixes, or just a garden tips. We’re here to help you grow something amazing.